
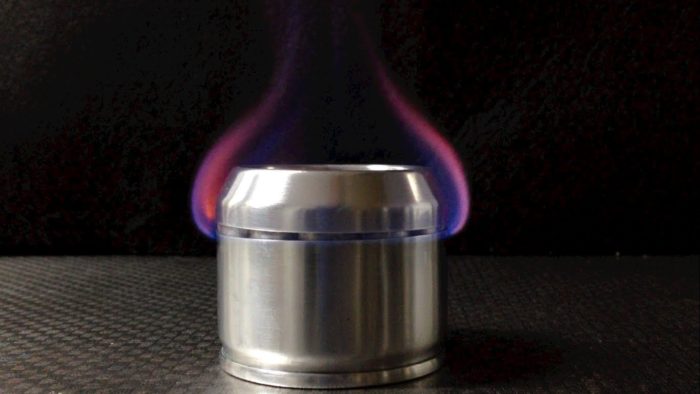
Any kind of outdoor activity demands ultra light-weight backpacks. Be
it for a hunting trip, hiking or trekking, alcohol stoves (aka pop-can stoves) are every outdoor adventurist’s favorite. Its simplicity to operate, build and its efficiency
along with its ultra-lightweight of just 2-3 ounces, makes it very compatible.
While there are many alcohol stoves available in the market, you can save some money and carry along a DIY alcohol stove instead. A homemade alcohol stove is equally reliable and efficient in its performance (check Thermal performance of a low-concentration ethanol stove without pressure system). The most readily available materials for making homemade camp stove are soda cans.
Soda can alcohol stoves are cheap and easy to make. Here is a step-by-step instruction on how to make an alcohol stove for your next outdoor
trip.
Precautions to Take Before Making a Homemade Alcohol Stove
- Use flat surfaces or rocks to place the alcohol stove
- Clear the area off dried leaves, bushes or any other flammable
- materials.
- Alcohol can spill easily so be careful not to knock off the cans
- There are some areas that prohibit the burning of alcohol. Check the regulations before attempting to burn one.
- Keep a bottle of water nearby to extinguish any excess fire.
- Do not make the mistake of leaving a burning alcohol stove unattended.
- Store the soda can alcohol stove inside a hard box to avoid crushing it.
- Do not burn the alcohol stove in enclosed areas or inside the tent. Use a windscreen to prevent the flames from going haywire.
The BEST Type of Fuel for DIY Alcohol Stove
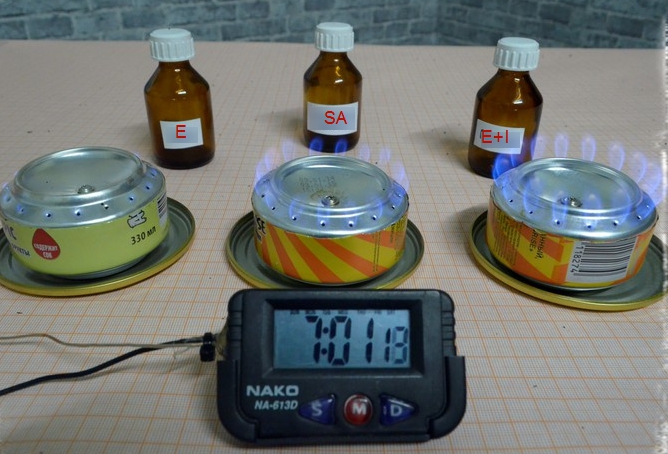
Before we go, we need to consider the best type of fuel you’re going to use in your homemade camp stove. I made a small experiment with the 3 types of fuel:
- Ethanol (62%) + Isopropyl (4.5%);
- 2% Salicylic Acid (ethanol – 58-60%);
- Antiseptic (medical) Ethyl Alcohol (ethanol – 96%).
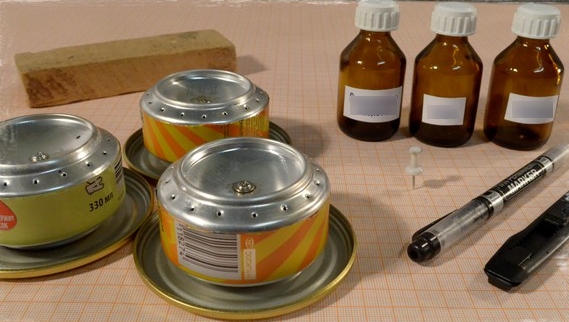
I filled all stoves with 25 ml. the fuel mix, after which it was ignited. Now let’s see which type of fuel will be the best for your “pop-can” backpacking stove.
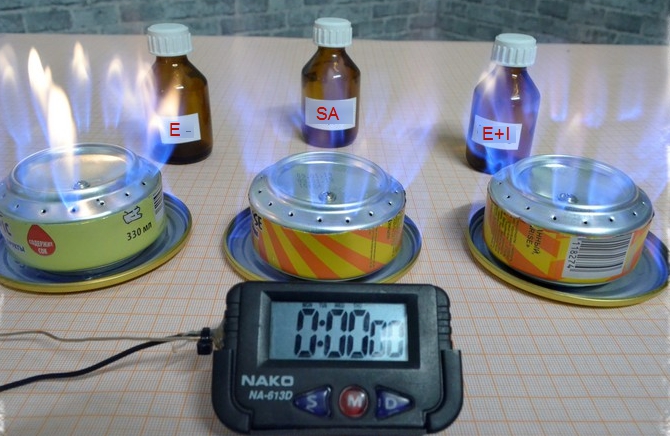
25 seconds later…
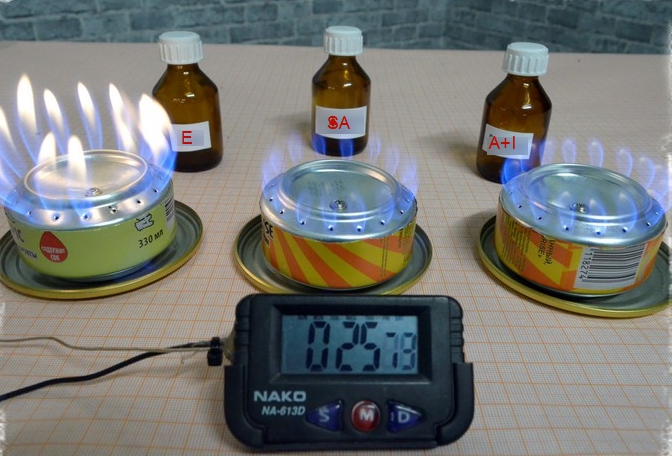
…And 7 minutes later:
Almost 10 minutes gone:
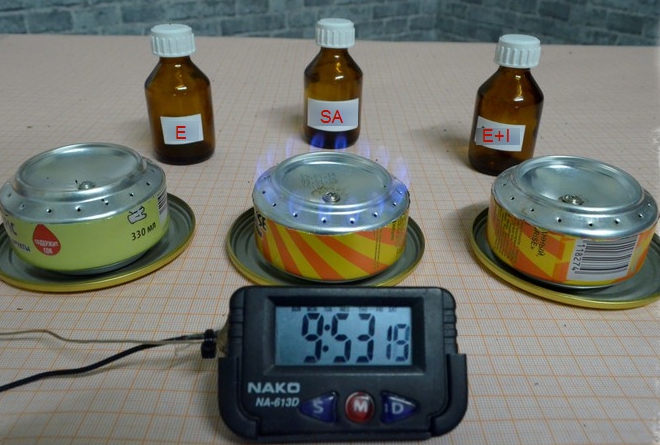
The experiment showed that the intensity and duration of combustion of alcohol stoves directly depend on the type of fuel. Denaturated alcohol with 96% ethanol has the highest intensity and speed. And the best results you can see with the Salicylic Acid (SA).
Steps to make a homemade alcohol stove- soda can alcohol stove
There are different designs and styles of homemade alcohol stove which you can make to prepare your food. Here is the simplest way, using soda cans and will not take much time to build.
Materials and Equipment needed for your homemade camp stove:
- 2 soda cans of equal size
- 1 larger can make the snuffer
- Epoxy glue (which is also would be great to have on the trip, for example when you’ll need to waterproof a tent)
- A penny
- A jar lid
- Denatured alcohol
- Pipe insulation-fiberglass
- A sheet of paper
- Sandpaper
- Pliers
- Marker pen
- A ruler
- Drill: 1/16″ and 3/16″ drill bits
- Sharp scissors
- Razer blade
1. Sand off the soda cans
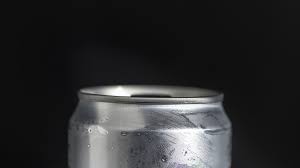
To give a cleaner and more attractive look to your homemade camp stove, begin by sanding the bottom 2 inches of both the soda cans. It is easier to sand off before emptying the cans.
After that, rinse both the cans thoroughly and let them dry.
2. Cut both the cans

There are many ways to cut soda cans, but the easiest is by using the “scoring” method. Take one of the cans and place it next to a ruler. Measure up to 2 inches and using the marker pen place the scoring marks by slowly turning the can beside the ruler.
After this is done, secure the razor blade in a fixed position. You can even screw the blade on a 1.5-2 inches wooden block with half of the blade extending beyond the block.
Punch a small hole on the scored line using the edge of the blade and carefully cut the soda cans into two pieces.
One-piece will be used as the alcohol stove DIY base. Keep that piece aside for now.
For the snuffer, take the bigger sized can and cut it the same way as the two smaller cans. You can opt to cut a little taller piece for the snuffer to cover the DIY alcohol stove fully.
3. Make burner holes
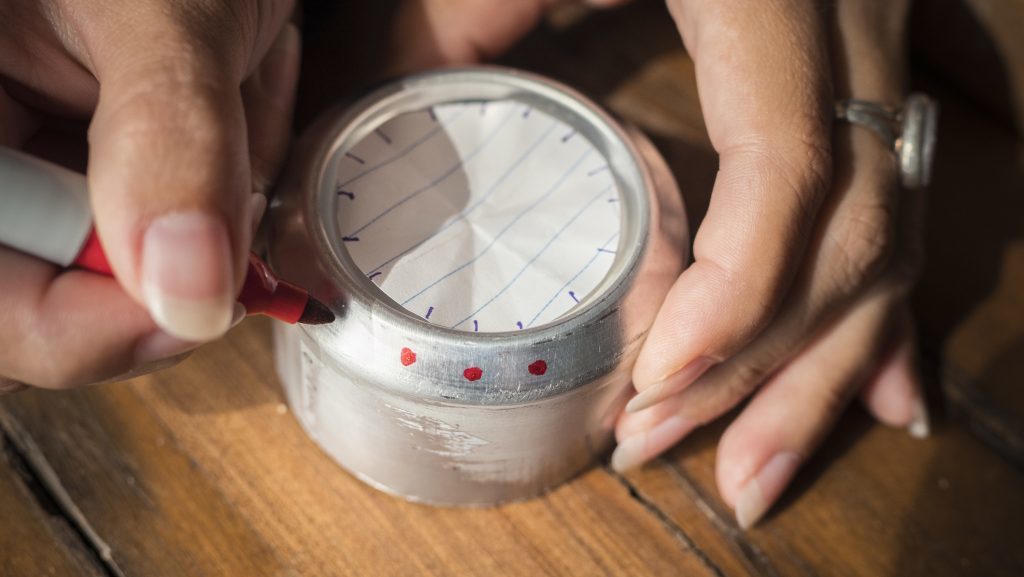
For this, take a sheet of paper and use the cut piece you’ve chosen for the top side to outline a circle on it. Cut out the circle and fold it into halves for a total of four times. Unfold the circle and place it in one of the cut pieces of the can. Mark a dot on the can for each fold using a maker.
Thereafter, use a 1/16″ drill bit to drill each dot on the can. There should be 16 evenly spaced holes on the can.
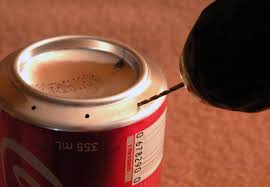
4. Make fuel port
For the fuel port of the DIY camping stove, take the penny and place it at the center of the can. Outline the coin on the can, remove the coin and

mark the center of the circle with a dot. You need to make 4 more dots around the circle’s center dot. Thereafter, use a 1/16″ drill bit to drill the four dots and a 3/16″ drill bit to drill the center dot.
5. Pleat the top side of the alcohol stove DIY
In order to slide the two pieces of the alcohol stove easily, make pleats around the opening of the two pieces using pliers. You can slightly stretch the base piece by using a full soda can.
6. Wick for the DIY camping stove
Cut the fiberglass insulation according to the length you want and insert it into the base piece of the soda can alcohol stove.
7. Fix the two pieces together
Apply epoxy on the edge of the top piece and gently slide it into the stove’s base piece. Press and hold them together firmly for a few seconds. Wipe off any excess epoxy.
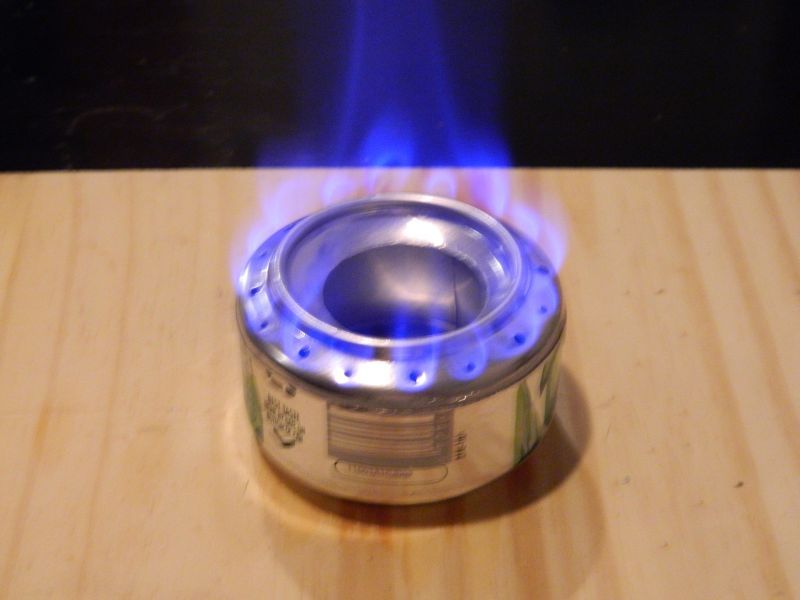
8. Finishing off
Place the DIY camping stove on top of a jar lid. Pour in denatured alcohol through the fuel port and place a penny over the port. Put a few drops of alcohol on top of the penny and a little amount in the metal lid rim.
Light the alcohol in the rim and on the penny and thereafter place the pot stand on top of the stove.
Cover the stove with the snuffer whenever you wish to extinguish the flames.
Soda can alcohol stove is the easiest DIY alcohol stove that everyone can make. A homemade camp stove may not be used for cooking heavy meals, but it is best to heat up snacks or boil water and so on. Using a camping stove DIY is cheap and reliable when it comes to picking a stove for your hunting or hiking trips.
Soda can alcohol stoves burn more slowly than other stoves, which is its drawback. But, they are the lightest and perform well among others.