Sharing is caring!
During emergencies or natural disasters, a shelter is always the paramount priority. With the ever-increasing effects of global warming, we are constantly witnessing severe and harsh weather, which causes a lot of damage and can even kill, especially for those who don’t have shelters to protect them.
Well, luckily for you, there are plenty of materials and techniques you can use to avert disasters. In this article, I will be highlighting 15 of the best longterm survival shelters and how to build them. Don’t go anywhere.
1. ROUND LODGE
The round lodge is a blend of different cultures, such as part Wickiup and part Tipi, and it’s influenced by various architectural designs and styles. This shelter is widely known to prevent rain, sun, cold, to mention a few, providing you with all-round protection.
It’s mainly built like a Tipi, and a solid entrance is the only notable addition. When it comes to structuring, they typically have a smoke hole that allows a fire, providing both light and heat.
The roofing is thatched with mats, grass, or leaf litter; these shelters are convenient for wetter climates and were mainly used by the Romans.
2. RAMADA
Ramada is mainly used in hot and sunny environments, providing much-needed shade. Its flat top is not water-proof, but it will protect you from the burning heat. There are various designs of Ramada, but the most common style is the erection of four posts, using lightweight beams and a cover.
Roofing materials mainly consist of brush, tarps, or mats, providing you with that much-needed crisp and fresh feeling.
3. QUINZHEE
This usually has a dome shape that resembles an igloo, except it’s very easy to build. Here are some of the simple steps to make a Quinzhee.
- Pile some movable materials under the tarp.
- Add more snow over the gear and tap.
- Ensure the snow has two feet of thickness all around it.
- Set-up 12-inch posts around the dome.
- Using 3-4 guide sticks, dig the sides of the Quinzhee and remove the tarp and gear.
- Remove the snow in the mound till you reach the guide sticks, ensuring uniform thickness around the dome.
- For ventilation, create a fist-sized hole on the roof of the shelter.
4. SNOW CAVE
For areas or regions with deep snow, a snow cave is the best option. It’s regarded as one of the most dangerous shelters to make as users may suffer from low oxygen levels or be buried alive when the roof caves in.
For superior performance, choose solid and deep snow to set it up. Burrow on the sides to form a tunnel, continue digging to create a platform where you can sleep, ensure it’s the highest level of the shelter.
Create a 6-inch diameter hole in the roof for ventilation, if you intend to have an entrance.
5. WEDGE TARP
This shelter is suitable for areas in windy conditions; the wedge design provides an aerodynamic shape that resists wind. Having 5 points will make the shelter more secure and will also act as rain shade.
To construct it, set up two corners into the wind-blowing side, tie the opposite of the shelter. Fasten the remaining two sides onto the ground, ensure there are more cords with less incline for convenient ventilation with open wings.
To prevent water leakage, you can place rocks under the shelter. The 2-in-1 shelter can be used as a dwelling place and water harvester.
6. TARP WING
Tarp wing has a bit of an unconventional design that will protect you against rain, especially if you have a wide coverage area. If you have a relatively smaller size, I recommend using 20 by 40 or 8 by 10 feet.
The corners of the tarp should be tied to the opposite corners, with two being in low and high positions.
7. TARP BURRITO
The Tarp Burrito mainly features zero frills and will take you less than 30-minutes to set it up. During construction, set the shelter in your desired location, fold both sides up to 1/3 of the tarp, creating a seam underneath it, and it’s ready for use.
With this design, all the seams will be under you except for the door. You can let it down in stormy weather, or you can prop it up in sunny climates. Keep in mind, if there’s no ventilation, you’ll get wet conditions.
8. TARP TIPI
With a Tarp Tipi, all you need is some ropes, and voila! You have your shelter; the red Indians famously used the Tipi, and it was covered with hides. The modern forms are used with canvas.
To set it up, using ropes, tie poles together in a circular position with the main support in the center and cover it with the canvas of your choice.
9. A-FRAME TARP SHELTER
The A-frame is a wilderness shelter for the long term will have a wide coverage area that will protect you against rain and wind. You can construct it in less than 10-minutes; all you need to do is suspend a cord between two trees or posts. Spread your shelter over the cord, tie all four corners together, and you have your perfect shelter.
10. DESERT TARP
A Desert Tarp is prevalent among many desert communities. To construct it, you need two essential materials: two tarps and ropes. Dig a few inches into the ground, and using ropes, tie each side of the tarp onto the four anchors. This may be a rock, stakes, or log, leaving air spaces in between the shelter. This long-term bushcraft shelter.
11. TARP HAMMOCK
In wet and rainy areas, a hammock is the best shelter. The essentials that you need are ¼ inch breaded nylon rope and 8×10 canvas.
Roll half of the tarpon on both sides, representing 10-feet tall double roll bundles. At the end of each tarp, set up a sheet bend. Choose two trees that are 10 feet apart, tie the ropes tightly onto the tree, and make sure it’s as high as you can for proper ventilation.
For bug-infested areas, tie a bit of cloth on your hammock lines and dampen with insect repellant to keep the bugs at bay.
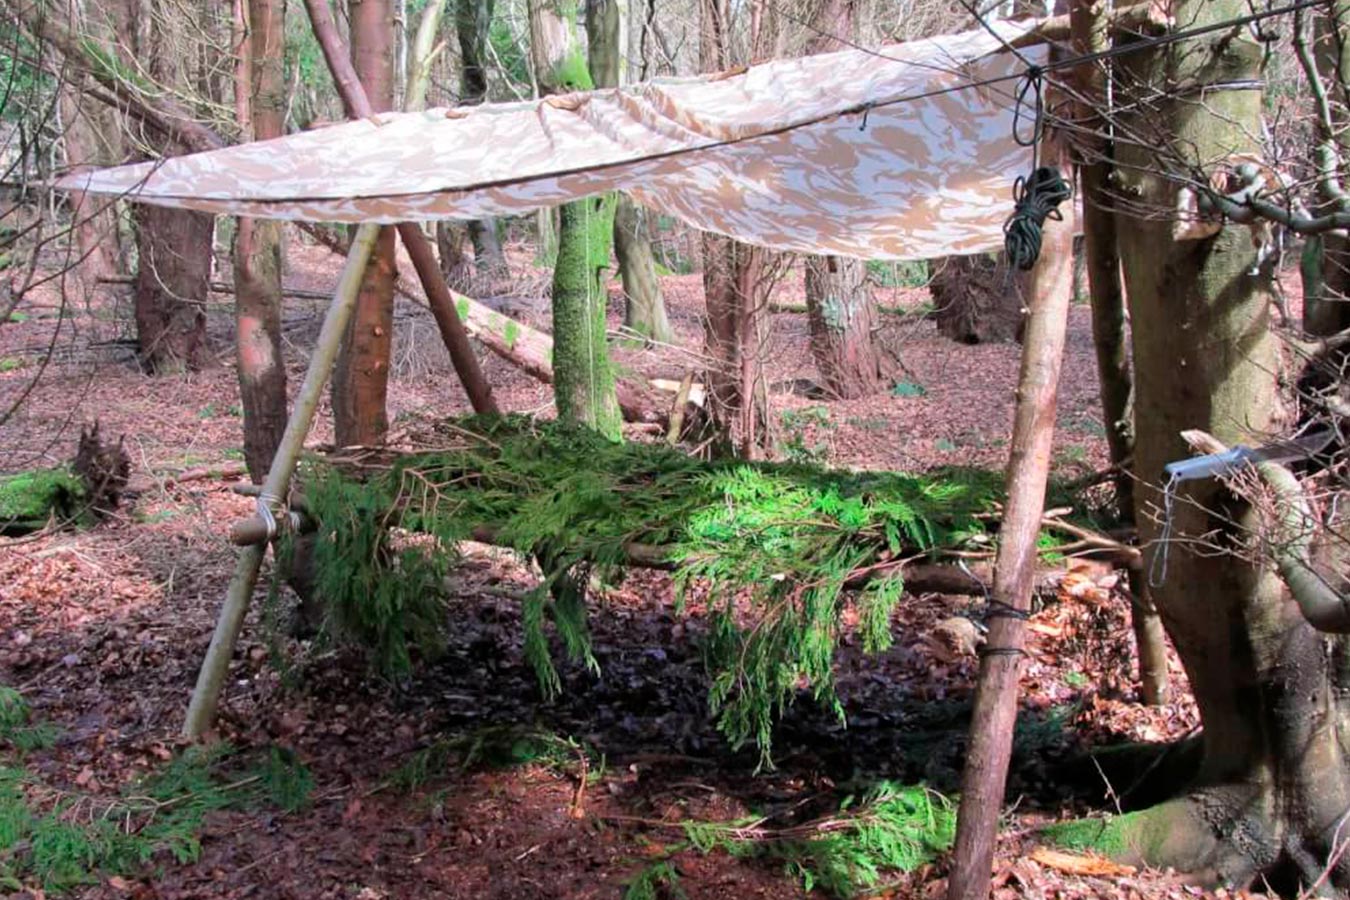
12. BOUGH BED
This is one of the most natural tarps. To construct it, use plant materials, evergreen boughs, and grass. The most common materials used are pine and cedar.
To make a bed frame, set-up two logs that are 3 feet apart and ensure they are taller than you; fill the remaining space between them with boughs. You can also use dead grass or dry leaves; ensure the mattress is at least 6-inch thick from the ground.
If the bedding is cold, you can keep on adding more leaves for more warmth.
13. WICKI-UP
The Tipi is usually made from vegetation, brush, and poles. For rainy regions, build a steeper roof with thick leaf brush or grass. For hotter climates, use a lighter brush or vegetation.
Use poles that have forks at their tip and bind them together, creating a tripod stand. Set poles around it, forming a Tipi frame, and then add a covering of your choice. If you intend on lighting a fire, use wet material. This survival shelter you can use with a fireplace.
14. LEAF HUT
A leaf hut usually has a wedge-shaped lean that’s two-sided. During construction, choose a strong 9-12 feet. Set it up on a rock or a tree and cover all the sides using tree branches acting as ribs.
Make sure your ribs are close together, so they don’t fall off. Finally, put vegetation over your framework. It’s recommended to use 2-3 feet of vegetation all-round, keeping you cool and dry. For your bedding, set up a thick pile of vegetation.
15. LEAN-TO
This is one of the easiest and simplest shelters to construct as it takes less than an hour. It’s usually mainly one-sided, protecting you against rain and wind.
Set up a pole between two trees. On one side, cover it with brushes, poles, and branches. On top of it, heap vegetation. There are two main drawbacks: It can’t contain heat sufficiently, and when there is a change of wind direction, the shelter is no longer effective.